888-450-3725
In this article
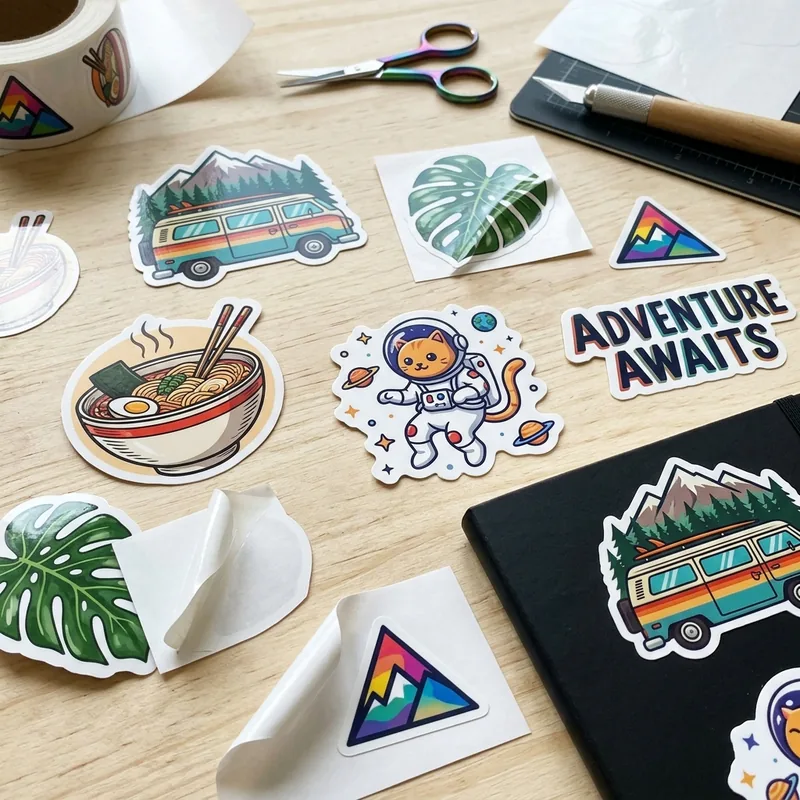
Great sticker prints start with clean files. Colors read true. Cut lines land where you want. Text stays sharp at every size. This design guide covers the file prep and layout tips that lead to a sticker you are proud to hand out. Once your art is ready, browse our custom die cut stickers for shape ideas.
How do I design a custom sticker?
Send vector art in AI, EPS, PDF, or SVG. Set colors to CMYK. Add a quarter-inch safe zone. Outline the fonts. Mark the cut path. We print at wholesale from $0.05 per unit, low MOQ, and ship free across the US.
- Best files: AI, EPS, PDF, or SVG (vector)
- Raster fallback: PNG or JPG at 300 DPI at final print size
- Color mode: CMYK (add Pantone spot for brand tone)
- Safe zone: a quarter inch from cut edge
- MOQ: low MOQ — start small and reorder as you grow
Start With Vector Art
A vector file can scale up or down with no loss. Lines stay sharp. Colors stay flat. The most common types are AI, EPS, PDF, and SVG. Adobe Illustrator is a common tool for vector work; their Illustrator help pages cover the basics if you are new.
Set Colors to CMYK
Screens use RGB. Presses use CMYK. Files saved as RGB can shift color when they print. Set the file to CMYK from the start. For a brand color that must match, add a Pantone spot swatch too. A test print shows the true color on your chosen stock.
Keep a Safe Zone
Text and key art need room from the cut edge. A quarter inch is a good rule. It saves the logo from a small trim shift on the press. Fine print like URLs and legal type should sit even further in. This one step alone stops most print surprises.
Mark the Cut Path
A die-cut sticker follows a cut path. Draw the path as a spot color line, one point wide, on its own layer. Name the layer CutContour or Dieline. Send both the layer and the flat art. That tells the press where to slice the vinyl.
Type and Font Choices
Outline fonts before you send the file. That locks the shape so no font swap can happen on our end. Pick a clean sans-serif for small stickers. Bold weights read better at small sizes. Skip thin scripts if the sticker is under one inch.
File Formats and Fallbacks
If you only have a JPG or PNG, aim for 300 DPI at the final print size. The W3C SVG working group tracks the vector web standard if you build files by hand. A raster file can print well, but small text may soften. Send the biggest file you have.
White Ink on Clear or Holographic
Clear vinyl and holographic film show through the print. Add a white ink layer under the colors that must stay opaque. Without a white underprint, red can look pink and yellow can vanish. Mark the white layer clearly so we press it in the right spot.
Approve the Proof
We send a digital proof and a 3D mockup after we get your file. Check the size, the cut path, the color, and the text. Approve the proof, and we start the run. Skip this step and you own any change that lands on the printed sticker. Ready to move? Beat any sticker quote in one business day.
Frequently Asked Questions
What file format prints best?
Vector files print best. Send AI, EPS, PDF, or SVG. Vector art scales with no loss and keeps lines sharp at every size. If you only have raster art, aim for 300 DPI at the final print size.
Do I need to outline my fonts?
Yes. Outline the fonts before you send the file. That locks the letter shape so no font swap can happen at print time. It also stops any missing-font warning from delaying the run.
What is a bleed on a sticker?
Bleed is extra art past the cut edge so no white shows if the cut shifts. A one-eighth inch bleed is common on rectangular stickers. Die-cut shapes use a safe zone inside the cut instead.
Can I send a photo or PNG file?
Yes. A high-resolution PNG or JPG at 300 DPI can print well. Small text may soften a little on raster art. Send the biggest file you have so we can work at print size without upscaling.
What price can I expect for custom sticker design guide in bulk?
Wholesale custom sticker design guide start from about $0.10 per unit at Discount Box Printing, with the final price set by size, board thickness, print color count, and run size. Larger orders cut the per-unit cost by a wide margin, and you can send a competing quote to our <a href="/beat-my-quote">Beat My Quote</a> page to lock in a better rate.
What is the minimum order quantity for custom sticker design guide?
We print custom sticker design guide with a low minimum order so small brands and new product lines can start without a big spend. Low MOQs let you test art and sizes on the shelf before you scale up, and when you reorder in bulk the per-unit price drops. Reach out for the exact MOQ on your spec.
How long does it take to print and deliver custom sticker design guide?
Standard turnaround on custom sticker design guide is about 10 to 12 business days after proof approval, with a 6 to 8 day rush option on most jobs. Timing starts once art and dieline are signed off, so a fast proof reply keeps the clock short. Free US ground shipping is included on every order.
Do you offer free design, a dieline, and a 3D mockup for custom sticker design guide?
Yes. Every custom sticker design guide order at Discount Box Printing includes free design help, a print-ready dieline, and a 3D mockup before we go to press. Our team cleans up logos, sets bleeds, and checks food-safe inks when needed, so the box you approve on screen is the box you receive at your door.
Do you ship custom sticker design guide across the United States?
Yes. We make custom sticker design guide factory-direct and ship to every state in the US with free ground freight on wholesale orders. Our team at Discount Box Printing coordinates print, cut, and dispatch under one roof, so your boxes land on time whether you order from New York, Texas, California, or anywhere between.
Ready to order your custom boxes?
Free design, low minimums, fast turnaround — at wholesale prices.
Get a Free QuoteRelated Packaging
Products and categories mentioned in this article.
Custom Die Cut Stickers
Related Posts
Die-Cut Box Dimensions: Sizes & Custom Shapes Guide