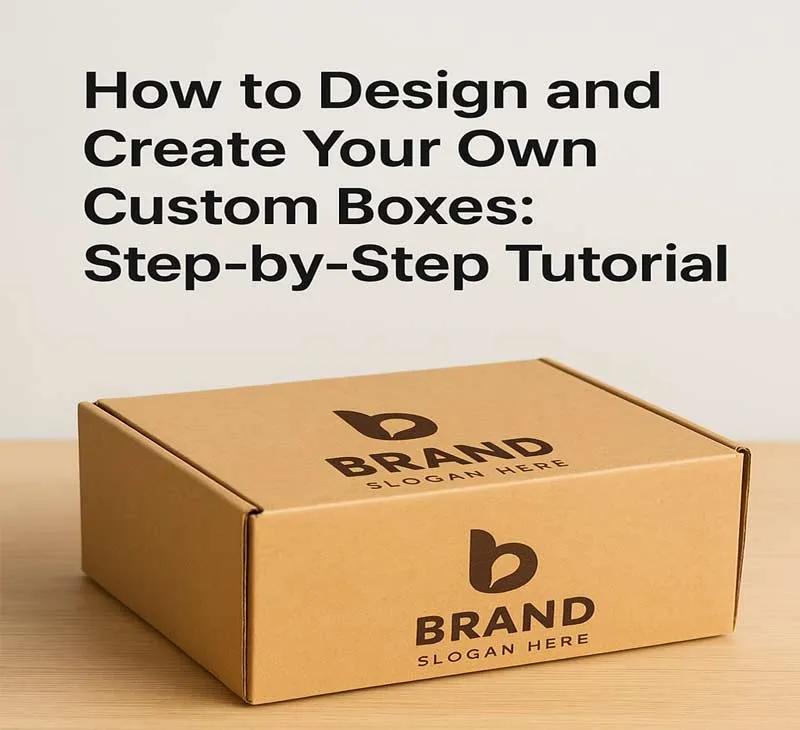
Custom boxes do more than hold a product. They show off your brand, guard what is inside, and create an unboxing buyers remember. Designing your own is simpler than it looks once you break it into steps. This guide walks you through how to design and create custom boxes, from idea to bulk order.
Step 1: Choose Your Box Type and Size
Start by picking the box style that fits your product. Popular picks include folding cartons for retail, rigid boxes for a luxury feel, mailer boxes for shipping, and sleeve boxes for a clean look. Measure your product with care so the box fits snug with no wasted space. A tight size guards the product and keeps shipping costs down.
Step 2: Choose Your Material
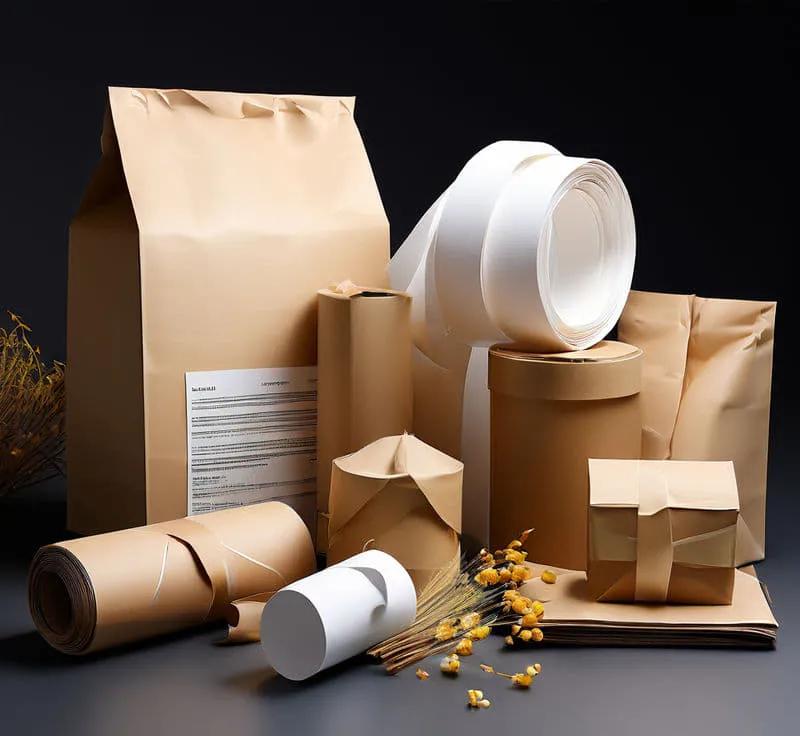
The right material balances strength and looks:
- Kraft paperboard — recyclable and natural-looking.
- Corrugated cardboard — sturdy for shipping and heavy items.
- Rigid board — a premium, gift-grade feel.
For eco-first brands, recyclable eco-friendly materials are a strong pick.
Step 3: Design Your Box Graphics
Your design carries your brand. Plan your logo spot, brand colors, type, and the product details you need to include. Keep the layout clean so the key details stand out. Design software or an easy online tool can help you build the artwork. Our team also gives free design help and a dieline to get you started.
Step 4: Select a Printing Method
Match the print method to your run and budget:
- Digital printing — cheap for small batches.
- Offset printing — high quality for large runs.
- Foil stamping or embossing — a premium, raised look.
Step 5: Add Finishing Touches
Finishes lift the look and feel of the box. Popular picks include matte or gloss lamination, spot UV coating, and embossed or debossed logos. A soft-touch finish adds a rich hand-feel. Choose finishes that match your brand and price point.
Step 6: Order a Sample First
Always check a real sample before bulk production. A sample lets you confirm the fit and build, the color, and the overall look. Catching issues now saves money later. Order a free sample kit to see and feel the result first.
Step 7: Place Your Bulk Order
Once your sample looks right, you are ready to make them at volume. Ordering in bulk brings the cost per box down. So branded packaging stays easy to afford. We make them factory-direct at wholesale prices with low minimums. Request a free quote to place your order.
The Bottom Line
Creating custom boxes is a smart move for your brand. Follow these steps and you will end up with packaging that guards your product and leaves a lasting mark. When you are ready to start, order a free sample kit or request a free quote. For format-specific help, read our custom mailer boxes guide or custom rigid boxes guide.
Explore More
Explore our custom mailer boxes and custom rigid boxes — printed factory-direct with free design and fast turnaround. For more, read our custom corrugated boxes guide.
Related Reading
Frequently Asked Questions
How much do custom boxes cost?
Pricing for custom boxes depends on size, material, quantity, and finishes. Because we make factory-direct with no setup fees, our wholesale prices are typically lower than buying through a reseller. Request a free quote for exact pricing.
What is the minimum order for custom boxes?
We offer low minimum orders on custom boxes, so you can start with a small batch to test the market and reorder as your brand grows.
How long does it take to get custom boxes?
Standard production and delivery is about 10–12 business days after proof approval, with rush turnaround of 6–8 business days available on most orders, plus free shipping across the USA.
Can I print my logo and brand colors on custom boxes?
Yes. Every order is fully customizable with your logo, brand colors, and artwork using high-quality printing, plus finishes like foil stamping, embossing, and spot UV. Free design support is included.
Ready to order your custom boxes?
Free design, low minimums, fast turnaround — at wholesale prices.
Get a Free QuoteRelated Posts
How Custom Packaging Can Grow Your Perfume Business